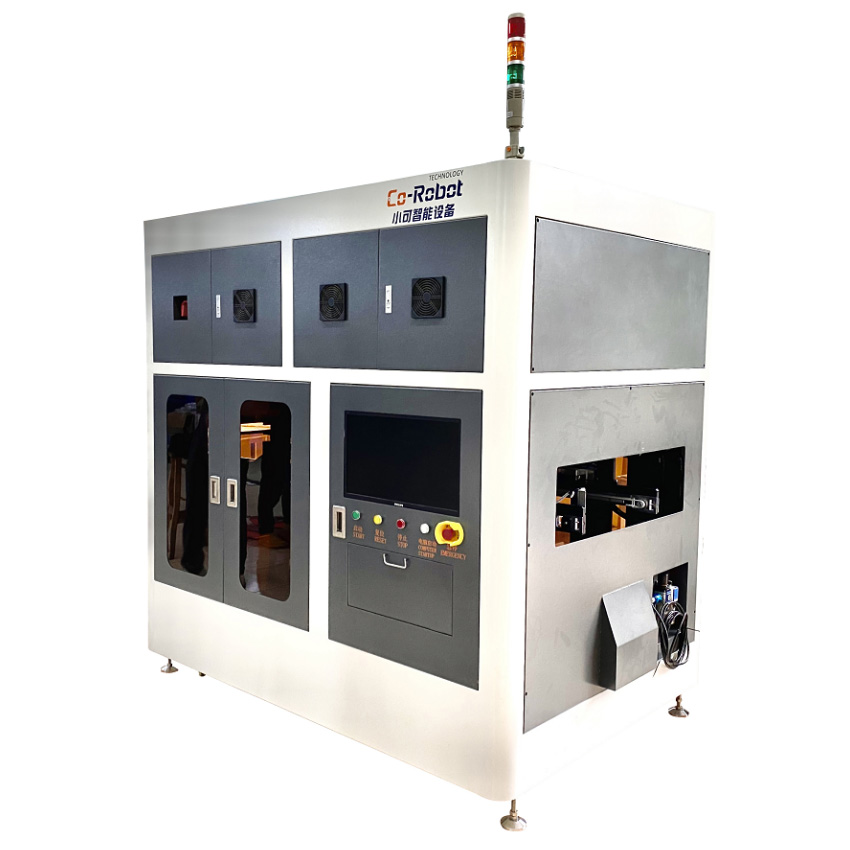
Application area
This equipment is mainly used for measuring the height and depth of ultra precision components. The laser confocal detection sensor is used to measure the depth of various blind holes, the steps of components and the flatness of components. It can calculate the difference of the datum plane of complex surface reconstruction, match with CCD vision positioning, automatic loading and unloading, fast fixed-point detection, and can replace the optical three-dimensional element;
Advantage
*It can be equipped with multi brand confocal laser sensor and 3D linear scanning sensor, with optional speed / precision;
*Laser confocal scanning parameters are optimized for deep hole acquisition, and self-developed noise filtering algorithm has been verified by the industry;
*It is the first in the industry, with diversified OK / ng recheck paths and XY two-dimensional interpolation scanning to avoid false positives caused by needle deviation in the hole, PCB incoming material deviation and slight oxidation;
*Maximum aperture depth ratio: 1:10;
*The function of segmented compensation in PCB plane area can reduce the influence of PCB bending error and alarm when the deviation is too large;
*High precision moving parts + global calibration compensation, XYZ repetition accuracy of 0.01mm, meet the requirements of 1.4m large plate double head scanning detection;
*Equipped with a re inspection camera, the needle in the hole can be observed in real time manually;
Main parameter
1. Detection function: measure blind hole depth, component step, flatness, position, etc
2. Detection efficiency: laser confocal scanning speed Max 40mm / S (1D)
3. Resolution: 0.01 um
4. Plane size: 1400 x 610 mm (double station)
Measuring principle
1. The color laser source emits a beam of high density and wide spectrum light. After passing through the dispersive lens, monochromatic light with different wavelengths is formed in the range, and each wavelength corresponds to a distance value. Only the light meeting the confocal condition can be sensed by the spectrometer through the small hole. The distance value can be obtained by calculating the wavelength of the focus of the sensed light.
2. The laser confocal head is guided by CCD to scan continuously, and the cross-section data of each line is obtained.
Section data diagram
measuring principle
Application scenarios
